Figure 1. Survey data as it is
downloaded from your GPS receiver (GPSr) into free software
(see below), where appropriate waypoints are linked
with lines.
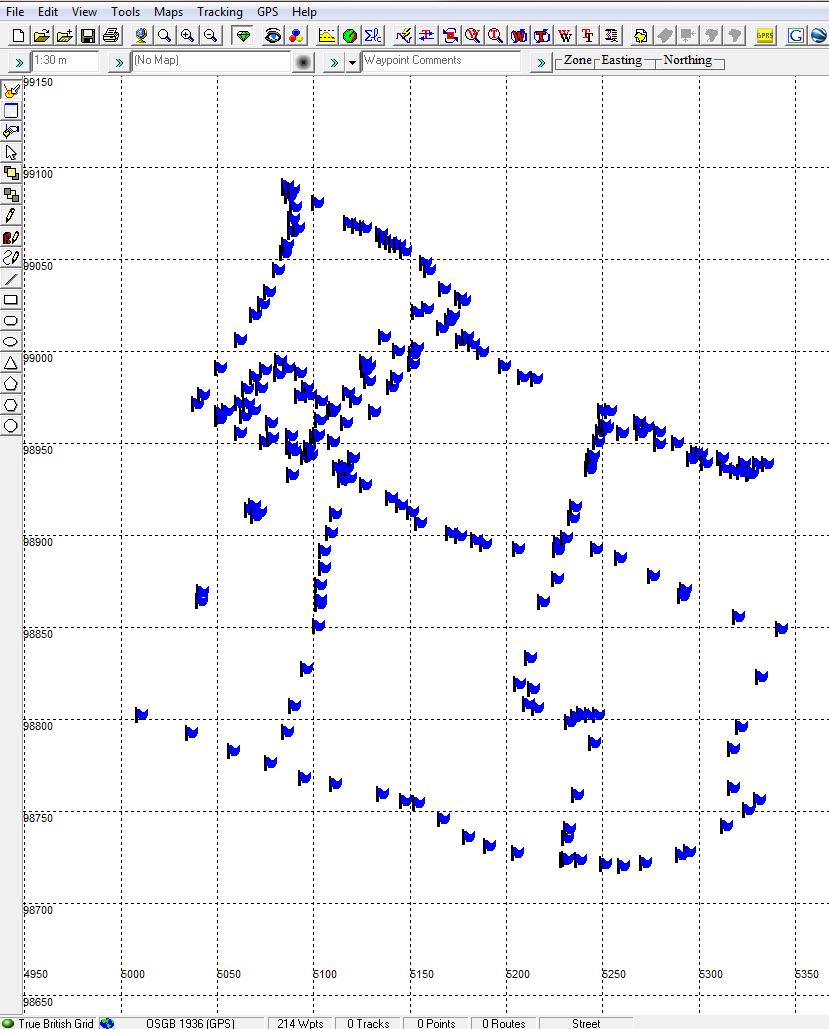
Figure 2. Shows how you can merge
many individual surveys into an area or site map. (Waypoints have
been hidden for clarity)
Figure 1 data is on the western side.
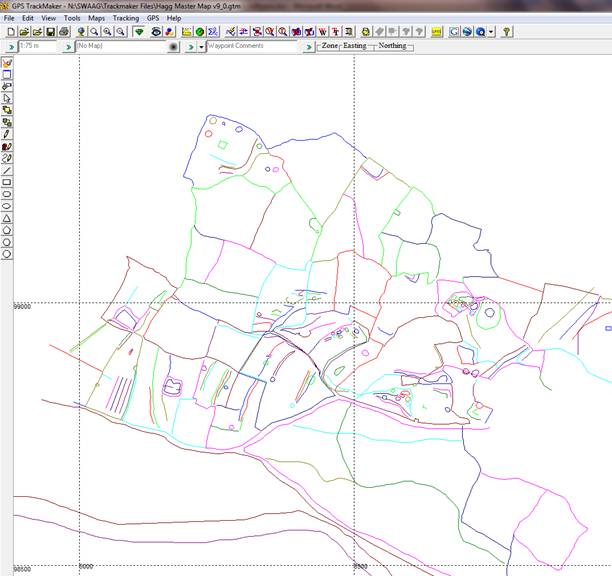
Figure 3. Show that you can then zoom into any
part of the area or site survey to select which part to map.
This data is then imported into a graphics program where you produce
your final map which can contain as many layers of detail as you
require.
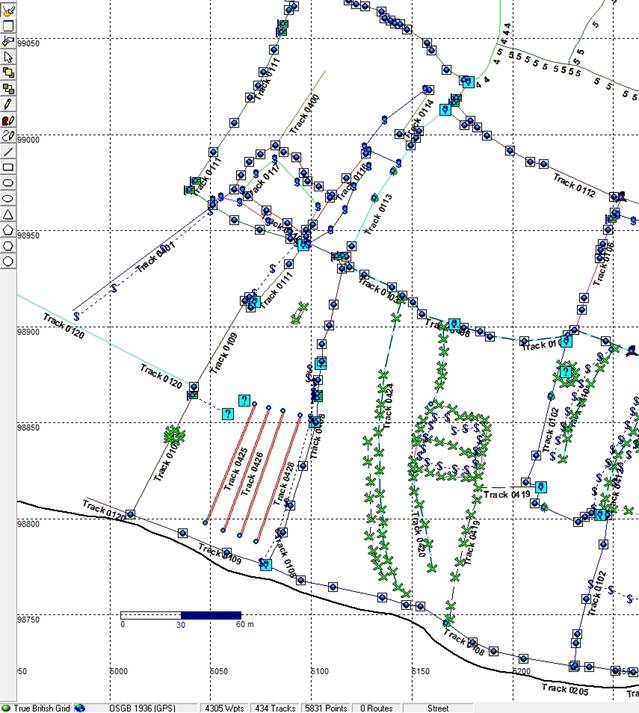
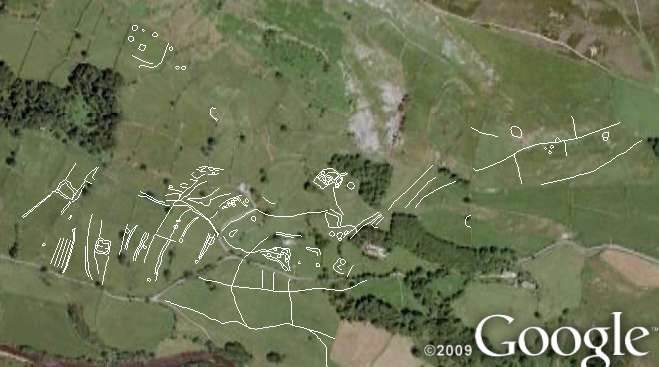
Figure 4. Show a map drawn using the above
data.
The style of lines and symbols used can be varied as much as
you like. All if the above lines and symbols where either
already in the graphics software, or created by the graphics
software, or imported into the software.

Figure 5. Chapters in the book show you haw you
can use your GPS data in Google Earth (see below) and as a data
layer on digital mapping.
To see a preview of this book click the Preview link on this
webpage
Chapter 1. Introduction
Chapter 2. Global Positioning System (GPS)
Chapter 3.
GPSr Instruments
Chapter
4.
Computers
Chapter
5. Software
Chapter 6.
Configuring your GPS
Chapter 7. Waypoint
Accuracy
Chapter 8. Measuring
GPSr Waypoints
Chapter 9. External
Aerials
Chapter 10. Handheld GPSr
Performance
Chapter 11.
Introduction to Mapping Techniques
Chapter 12. TrackMaker
Chapter 13. EasyGPS
Chapter 14. Using TrackMaker data on Google Earth
Chapter 15. Using TrackMaker data with Digital Mapping
Software
Chapter 16.
Digital Maps: shp,
dxf, tiff and all that stuff
Chapter 17. Creating maps using
Graphics Software
Chapter 18. DrawPlus Essentials
Chapter 19. DrawPlus
Chapter 20. Techniques for Drawing
Archaeological Features
Chapter 21. A Practical View
Chapter 22. DrawPlus Output
Chapter 23. DrawPlus and Copyrighted Maps
Chapter 24. Using IrfanView
Chapter 25. SWAAG Publications
Appendix
1. Comma Delimited Data
Acknowledgments
Index